
With account plans that include our Agent CRM, you can send individual emails like newsletters and announcements to any group of leads you select in your account. Our email editing tool makes creating emails fast and effortless. These emails will also appear to be sent from your own email address, helping you avoid deliverability problems due to spam/junk email filters. In this article, we’ll show you how to send custom emails using this feature.
This email option is a separate option from the Marketing Automation email campaigns in Agent CRM plans. With that option, a series of emails are delivered over time, based on an email campaign and email content you choose. You can learn more about the different email options in our article, Email Feature Guide.
Sending A New Email
Before you can send an email, you’ll need to set up your integration with your own email account. If you haven’t already done this, follow the steps for your email service here.
With your email account integration set up, you can now start building your email. To test an email before you send it to your leads, create a new lead record with your own email address for yourself in your account. You can then send test emails to your own lead record whenever you need to.
- Navigate to Communications > Send Email > New Email
- Enter a subject in the “Subject Line” field and add at least one contact to the “Select Leads” field. You can enter an existing lead’s name or email to the list, or enter a new email address that’s not associated with an existing lead
- To edit/create the content of the email, use the editor window on the bottom-half of the screen. Elements can be dragged from the right-hand drawer into the edit zone on the left.
- To send the email, make sure all required fields are filled in and then click the “SEND NOW” button
- To save a draft, make sure the “Select Leads” field is empty and then click the “SAVE AS DRAFT” button
NOTE: You cannot save an email as a draft if you have started to enter any leads or email addresses into the send-to field. You can clear the send-to field to save the email as a draft.
Working With Draft Emails
- Navigate to Communications > Send Email > Email Drafts
- You will see a list of all draft emails, with the subject line of the draft and the date and time the draft was last saved. Actions you can take on the draft email appear as buttons on the right.
- You can continue editing a Draft by clicking the “EDIT” button
- You can delete an email draft by clicking the “DELETE” button
- You can make a copy of a draft and start editing the copy by clicking the “COPY” button
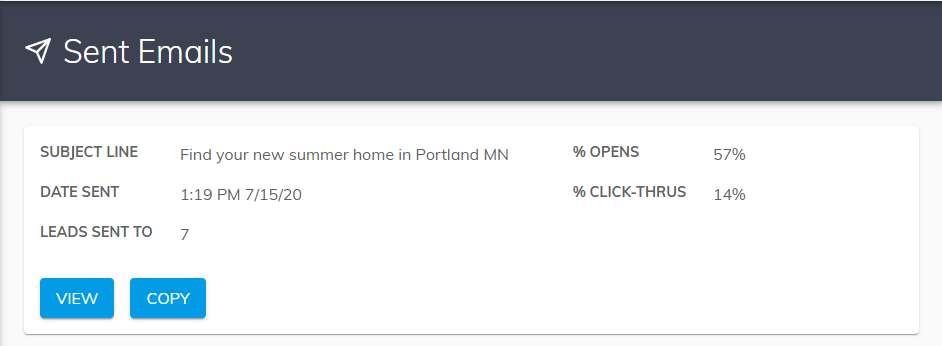
Viewing And Copying Sent Emails
- Navigate to Communications > Send Email > Sent Emails
- SUBJECT LINE: the subject line of sent email
- DATE SENT: the date and time the email was sent – not necessarily the exact time recipients received the email
- LEADS SENT TO: the total number of leads the email was sent to
- % OPENS: the percent of recipients that opened the email
- %CLICK-THRUS: the percent of recipients that clicked on the email
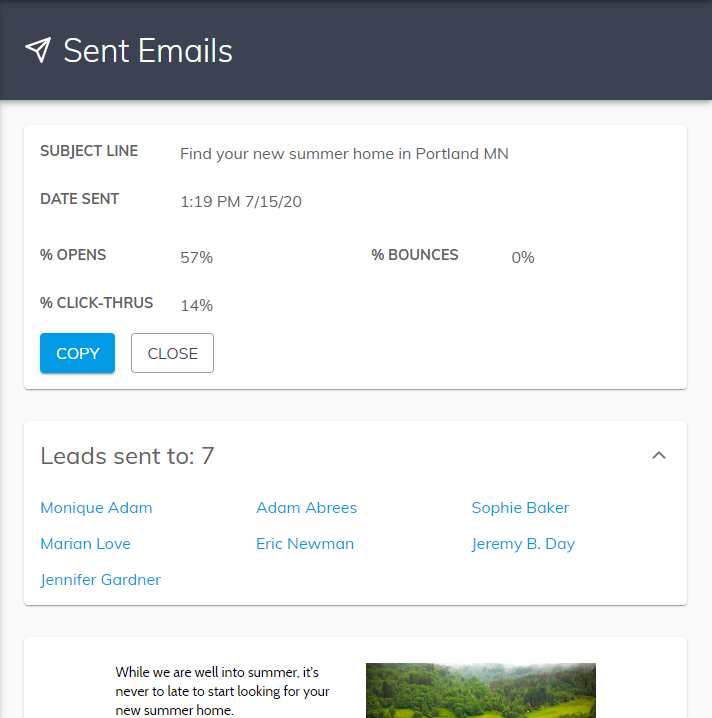
- To view the content of a sent email and a list of the leads the email was sent to, click the “VIEW” button.
- To view all the leads and email-addresses to which an email was sent, click on the dropdown labeled “Leads sent to”
- You can copy the content of a Sent Email by clicking the “COPY” button
Support Resources
Our support center is full of resources like our searchable Knowledge Base and training webinars to help you get the most value from your account. View the Support Center >
Learn More
If you don’t have an iHomefinder account, start your 30-day free trial, schedule a demo, or contact us today!
Recent Articles
[av_postslider link=’category,723,722′ wc_prod_visible=” prod_order_by=” prod_order=” date_filter=” date_filter_start=” date_filter_end=” date_filter_format=’yy/mm/dd’ items=’-1′ offset=’0′ contents=’excerpt’ columns=’5′ preview_mode=’auto’ image_size=’portfolio’ autoplay=’no’ interval=’5′ alb_description=” id=” custom_class=” av_uid=’av-kijk506k’]