 We don’t have to sell you on the importance of adding strong visuals to your real estate listings. As real estate professionals, you know that a picture is worth a thousand words, and directly contributes to the emotional decision making process of making a home purchase.
Many of us spend hundreds of dollars on companies that can produce virtual tours, or empty our budgets on expensive professional equipment so we can showcase our listings. Not every home we list requires that kind of technological investment, but all of them will require engaging, attractive visuals.
The technology landscape has changed, and people no longer want to jump in the car and drive to see 10 random homes in a day. (Neither do we.) The modern consumer relies on the convenience of viewing homes online at their leisure. Your challenge as a real estate professional is to make your listings stand out from the rest without breaking the bank.
Well, thanks to Facebook’s new 360 feature, you can do that for free from your mobile device. You can give tours of exquisite home features, neighborhoods, yards, and so much more. And you can do it in minutes from your mobile device.
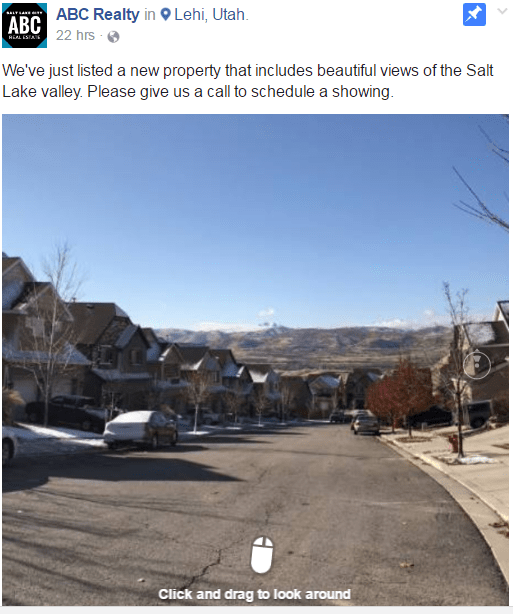
With Facebook 360 you can now place your perspective clients in the center of the action, ensuring there’s something to see and experience at every angle.
Create a story with your photo that encourages your followers to explore your property the full 360 degrees.
See our Live Facebook Example (You may have to be logged into Facebook to view it properly)
If you need further convincing on how cool this feature is, check out the Facebook 360 post of Manhattan from Mark Zuckerberg the founder of Facebook.

How to Create a Facebook 360 Image
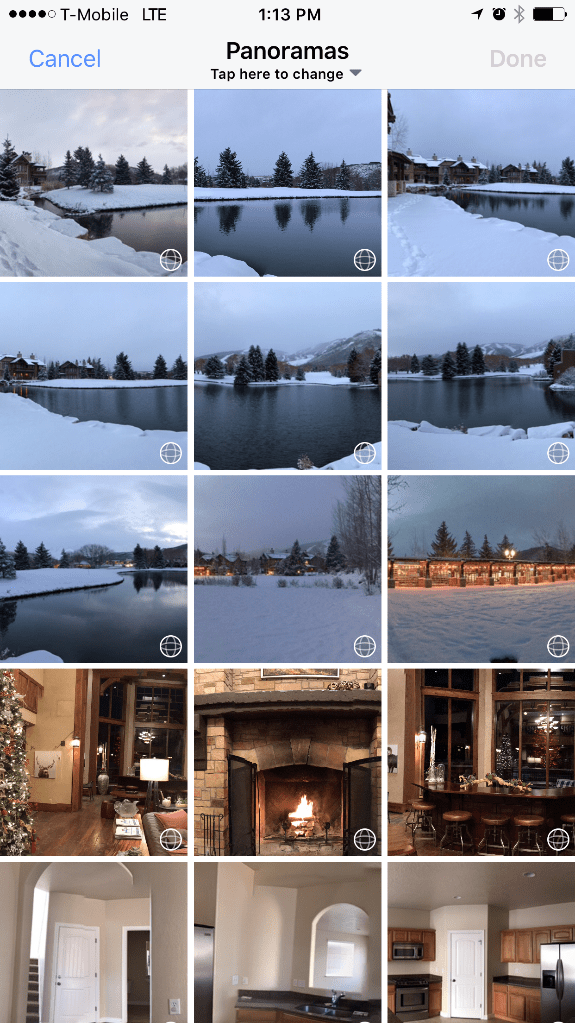
There are several ways to create an effective Facebook 360 photo. You don’t even have to buy elaborate photography equipment. You can simply start shooting with the panoramic mode on your compatible mobile device.
However, we found that this option could be glitchy. Sometimes the photo would be recognized as a 360 image, and sometimes it would upload as flat, panoramic photo. To avoid this glitch on both Android and iPhone platforms, we recommend the following process:
Step 1
Download the Google Street View app from Google play or the App Store.
Step 2
Open the app on your mobile device and click the camera icon found in the bottom right corner.
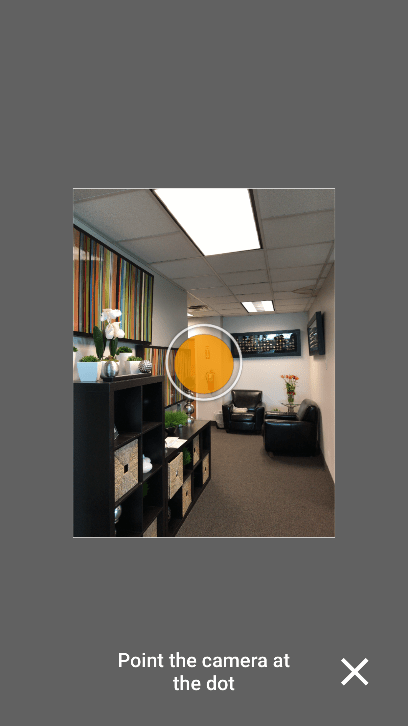
Step 3
Stand in the middle of the area that you want to capture. Point the camera at the center of the dot and pivot in a 360-degree circle.
Step 4
Save the photo to your device by clicking the orange checkmark. Your image will be saved on your mobile device.
How to Upload Your Photo to Facebook
Now that you’ve captured the perfect image that will show off your latest listing, it’s time to make sure it is properly uploaded and displayed on your Facebook account.
Step 1
Open Facebook (log into your administrator account)
Step 2
Within the Facebook app, decide where you want to share your Facebook 360 photo. Will you share this tour on your personal page, agency page, or in a Facebook group? The good news is that Facebook will allow you do all the above. Share away! This is your chance to really showcase your property.
Step 3
Go to the section to create a post as you would any other status update.
Step 4
Upload your photo to Facebook. If Facebook recognizes the image as a 360-compatible image, it will display a globe symbol on the photo like the one below.
Step 5
Tell your audience all about your photo tour, and voilà: you’ve created your first 360 image on Facebook.
Property Shooting Techniques
Anyone with a smartphone can start taking and promoting 360 photos on their Facebook account. You can make sure that your images stand out from the rest by using some of the following techniques:
- Start the shoot at the least eye-catching point – It’s possible that the first and last images won’t stitch up 100% correctly, which can be very noticeable. Make sure the high points of the picture come out perfectly by starting and stopping on less important points in the room.
- Move the camera slowly –Avoid blurry images at all costs. Take your time. I can’t stress this enough. Slow down. If you move too fast, your photos will not turn out right.
On a related note, if you’re in a place with a lot of high contrast, wait a few seconds for the brightness/contrast to auto adjusted before you move to the next orange circle.
- Pivot around the lens of the camera – You should not be the pivot point for this picture. The lens of the camera should be the center point and you should rotate the camera around that fixed point. It usually helps to put a mental marker on the ground and make sure that the lens always stays directly above it.
Also, note that your lens is not the center of the camera as the application might make you to think. The lens is usually located at top of your phone, so keep that in mind as you rotate around the pivot point.
- Use the undo feature when necessary – You can retake a shot that is not turning correctly or doesn’t look right. (You can only undo the last picture, though, so, if I haven’t said it enough: go slow!)
You’ve learned how to use to show off your new home listings. Sharing flat photos with your Facebook audience is a thing of the past — the future revolves around interactive pics. Think beyond the photos typically used in your marketing and make your listings stand out from the competition.
Do you have questions about using this feature? Have you used this feature before? Show us your work! You can contact us on Facebook or Twitter or comment below and tell us all about it!